
Instructions:
Cut the Foil: If necessary, cut the aluminum foil into a rectangular sheet roughly 10–12 inches wide.
Shape the Foil: Gently mold the foil over a rounded object to create a curved shape—think of a shallow parabolic curve or a half-cylinder.
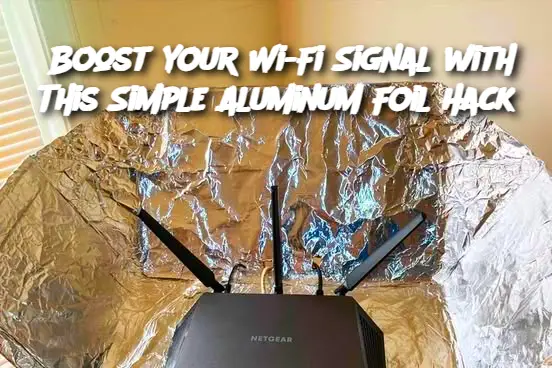
Position the Reflector: Stand the curved foil behind your Wi-Fi router’s antennas (if present) or behind the router itself, with the concave side facing toward the area where you want better signal coverage.
Adjust for Best Performance: Experiment by repositioning the foil or changing its curvature to optimize signal direction.
Serving and Storage Tips:
Serving (Usage): Use this hack whenever you need better signal strength in a specific room or area of your home.
Storage: When not in use, you can flatten the foil and store it in a drawer for future use. Keep it dry and free from creases or tears.
Variations:
Try using a piece of cardboard covered with foil for added stability.
Create multiple reflectors for routers with more than two antennas.
Use thicker foil or combine two layers for more durability.
FAQ:
Q: Does this really work?
A: Yes, many users report noticeable improvements in signal strength and range using this DIY reflector method.
Q: Is it safe for my router?
A: Absolutely. This method is non-invasive and doesn’t involve altering your router in any way.
Q: Can I use this with any router?
A: Most routers will benefit, but results can vary depending on your home’s layout and the router model.
Q: Will this block the signal in other directions?
A: Yes, the foil reflects and focuses the signal in one direction, so it might reduce coverage on the opposite side. Adjust placement based on where you need the most coverage.
ADVERTISEMENT
