
Fasten the Wire:
Twist the wire ends together under the cap to secure it. For added sturdiness, you can apply a dab of hot glue where the wire exits the cap.
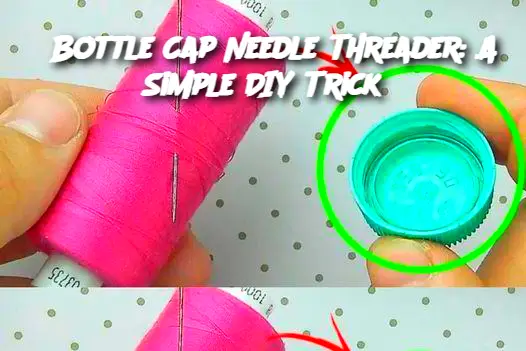
Use Your DIY Needle Threader:
Push the wire loop through the needle eye, insert your thread through the loop, and pull the cap back to thread the needle effortlessly!
Serving and Storage Tips:
Storage: Keep your needle threader with your sewing supplies. The cap provides a good grip and protects the delicate wire loop.
Maintenance: If the wire loop gets bent, simply reshape it with your fingers or replace it with a new piece of wire.
Transport: Because it’s compact and lightweight, you can easily carry it in a small sewing kit when traveling.
Variations:
Colored Wire: Use colorful craft wire for a fun and personalized touch.
Cap Customization: Decorate the bottle cap with paint, stickers, or washi tape to make it match your sewing kit’s aesthetic.
Double Wire Loop: For even sturdier threading, twist two wire loops together before securing them to the cap.
FAQ:
Q: What type of wire works best for this project?
A: Thin but sturdy wire, such as 28-gauge jewelry wire or stripped twist ties, work best.
Q: Can I use a metal bottle cap instead of plastic?
A: Yes, but be careful — metal caps can be sharp and harder to work with when making a hole.
Q: How long does this homemade needle threader last?
A: With careful use, it can last for many threading sessions. If the wire eventually breaks, it’s easy and cheap to replace.
Q: Is this threader suitable for very small needle eyes?
A: Yes! Simply adjust the size of the wire loop to fit smaller or larger needles as needed.
ADVERTISEMENT
