
Introduction:
Have you ever noticed the small round hole on your nail clipper and wondered what it’s for? Many people overlook this tiny detail, but it actually serves a practical purpose that makes your nail clipping experience easier and more efficient. This guide will explain the purpose of the hole, how it’s used, and some fun tips to get the most out of your nail clipper.
Ingredients:
One nail clipper with a small round hole near the lever
Your nails (to be clipped!)
Optional: A small key ring or chain
Instructions:
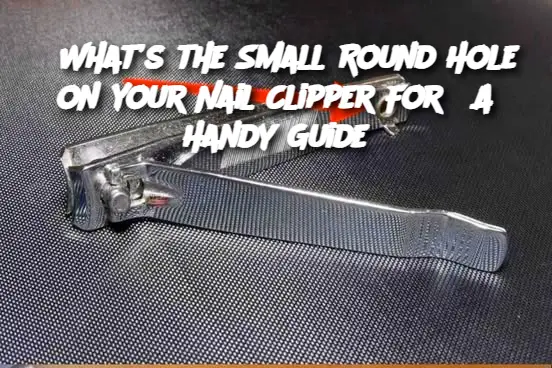
Identify the Hole: Locate the small round hole near the base of the clipper lever.
Insert the Pin: This hole is designed to hold the metal pin that connects the lever to the clipper body, enabling smooth operation.
Optional Key Ring Use: You can use the hole to attach a key ring or chain for easy portability.
Use Your Clipper: With the lever securely attached through the hole, clip your nails as usual.
Maintenance Tip: If your clipper comes apart, use the hole to reinsert the pin correctly to keep it functioning smoothly.
Serving and Storage Tips:
Next
ADVERTISEMENT
